Admins are able to create or edit the Company Information on the Service Desk.
Basic Company Information
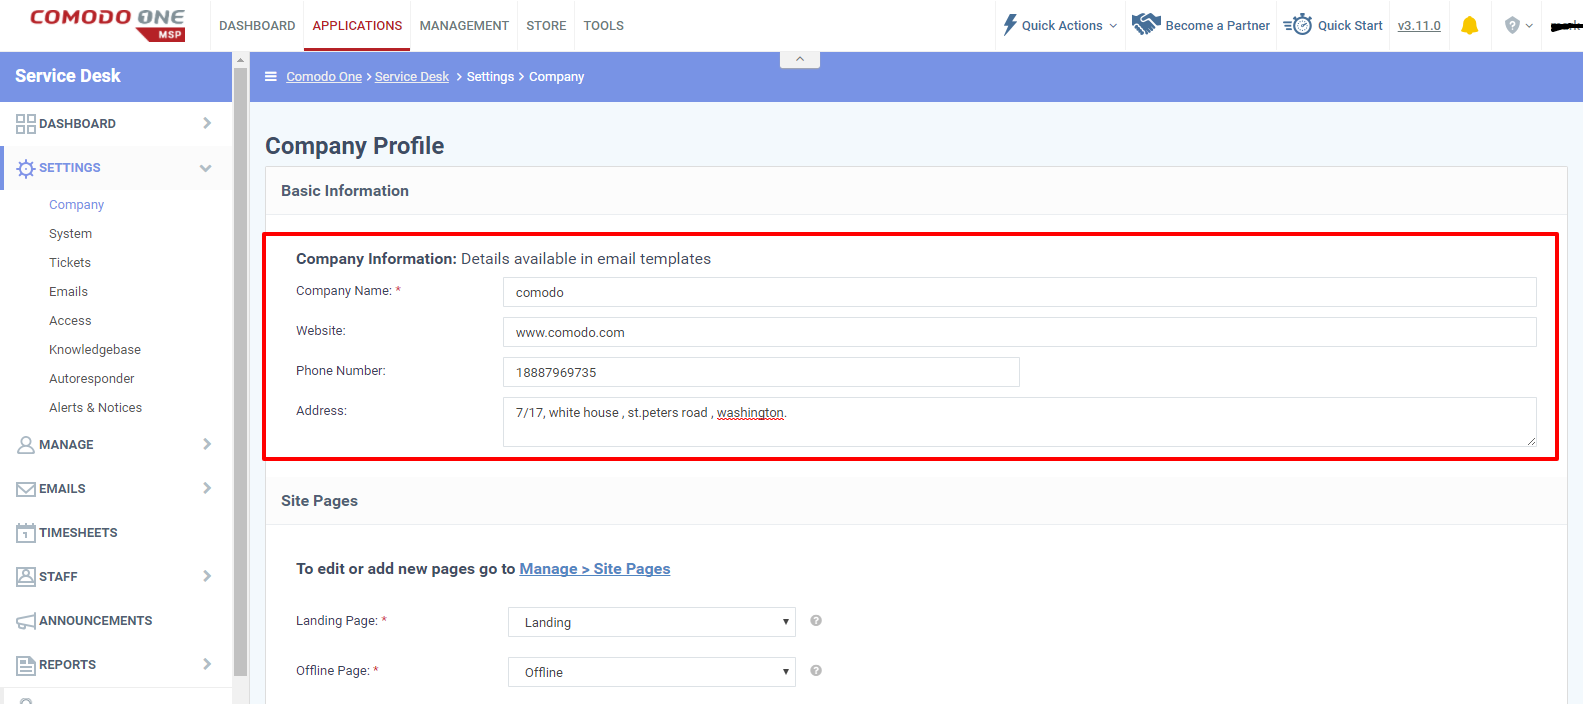
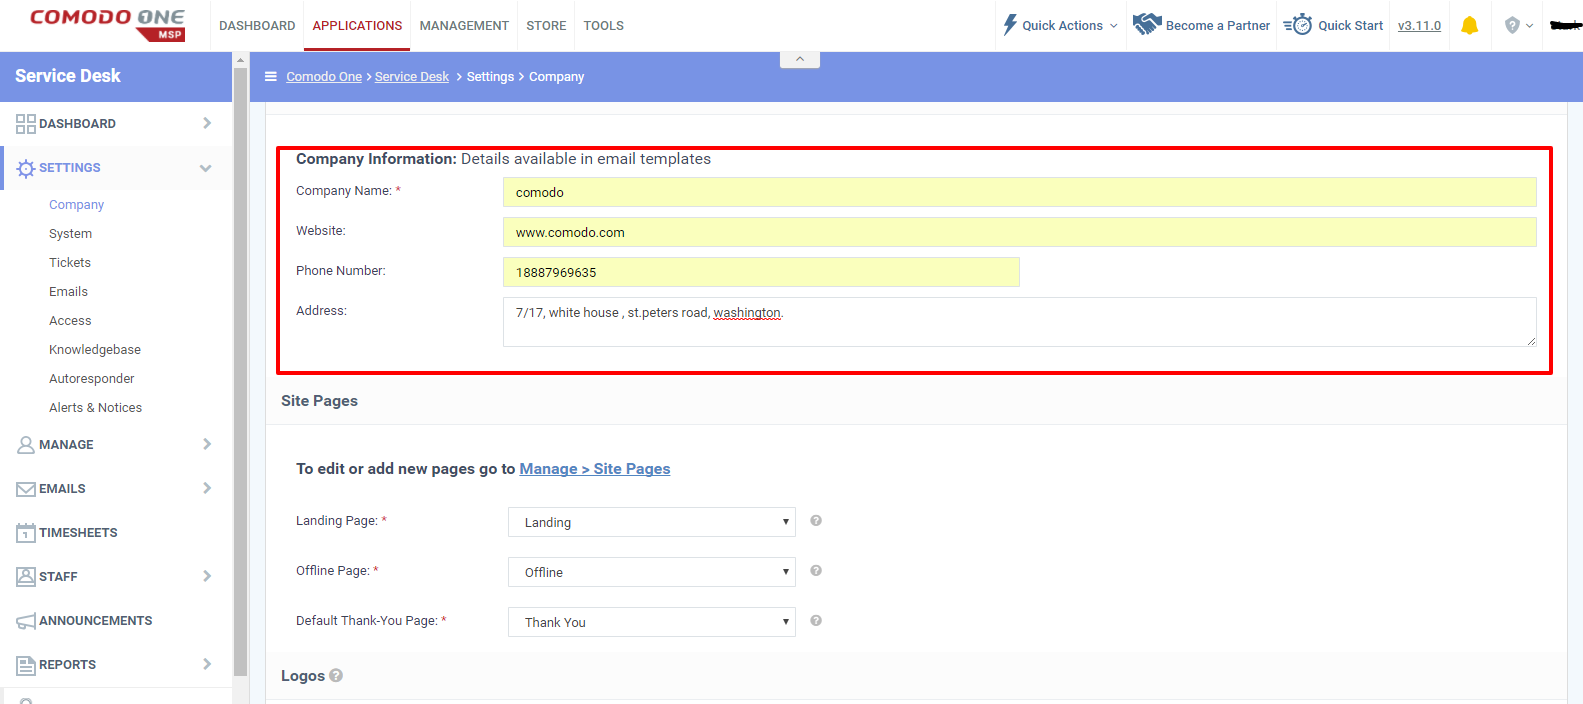
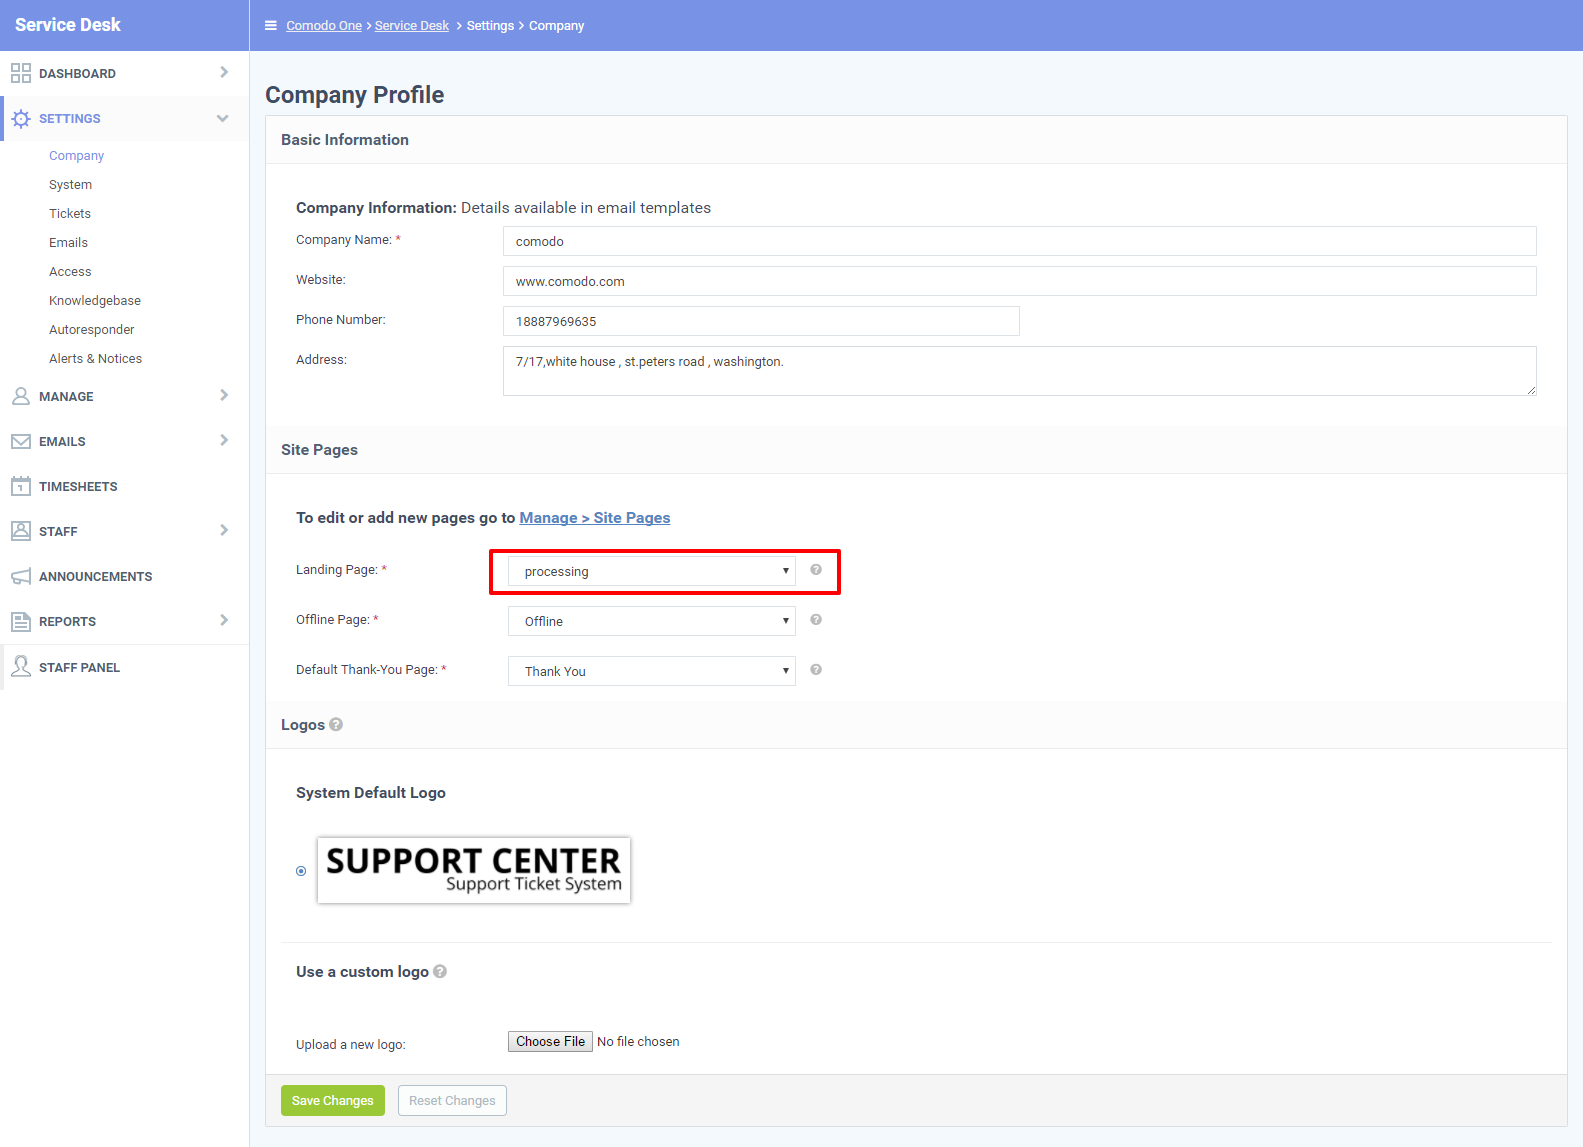
Step [1] :a) Go to " Service Desk " -> " Admin Panel "- > " Settings " -> " Company Panel "and Fill out the Fields for Company Information .
Company Name- Enter your company name.
Website - Enter the company’s website.
Phone number - Enter the company’s phone number.
Address- Enter the address of your company.
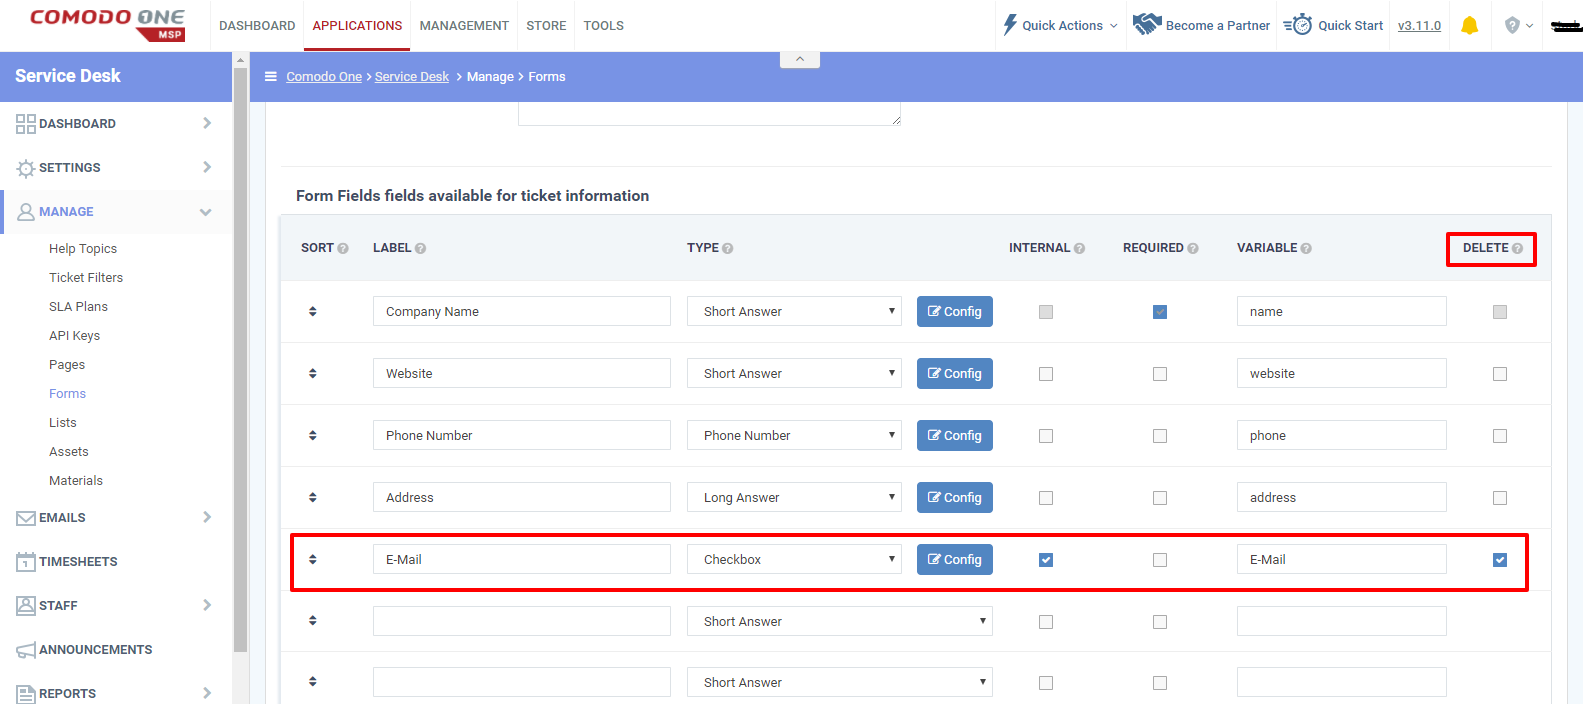
Note: To Edit or Remove the Fields in the Company Information.
a.Go to " Admin Panel " -> " Manage "- > " Forms " -> " Company Information ".
b.To edit a field, select that field and edit it.
1.Creating New Fields in the Company information.
i) To create a new field give a "LABEL " name and with the desired type, internal and variable.
ii) To create mandatory fields means click the checkbox in the " REQUIRED " column.
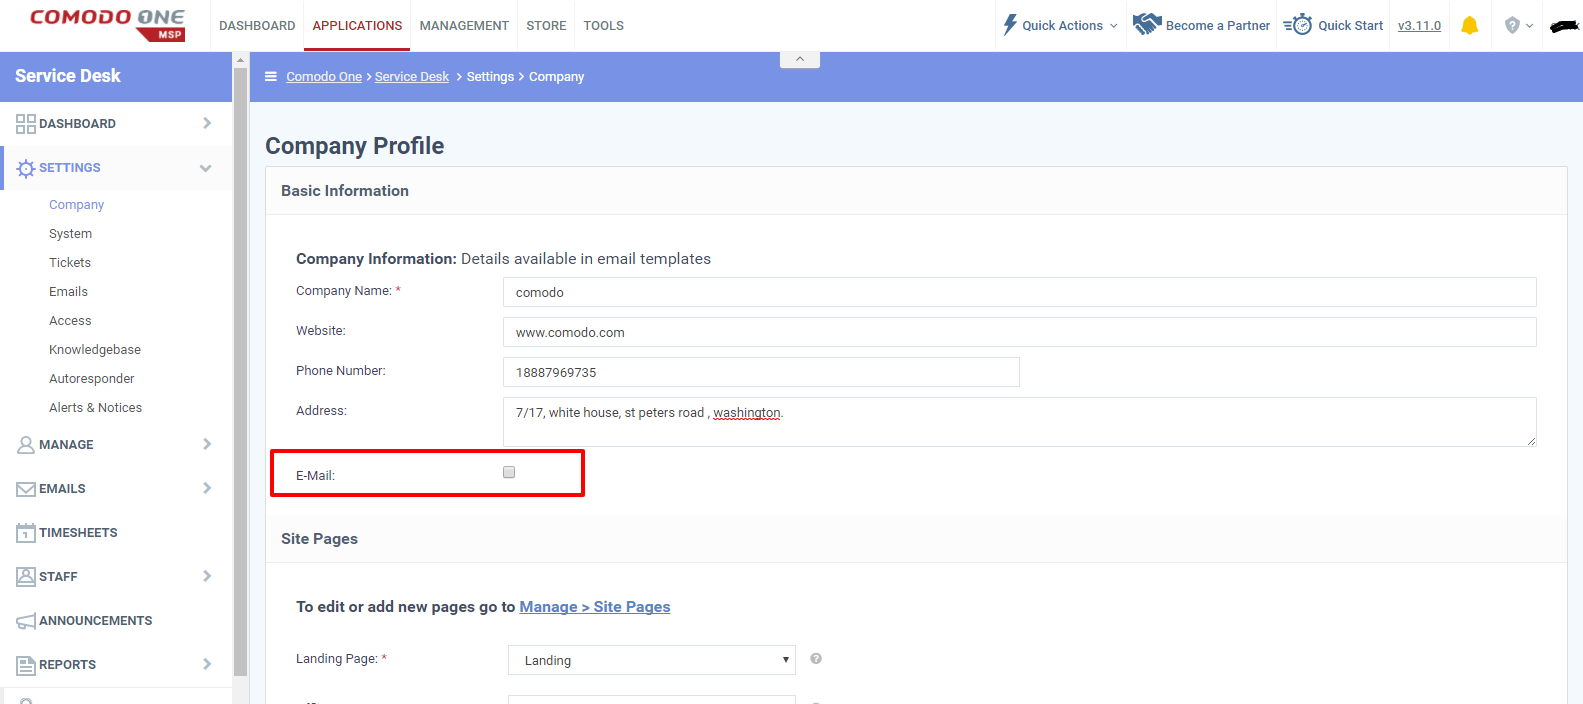
2.To delete the fields in the Company Information.
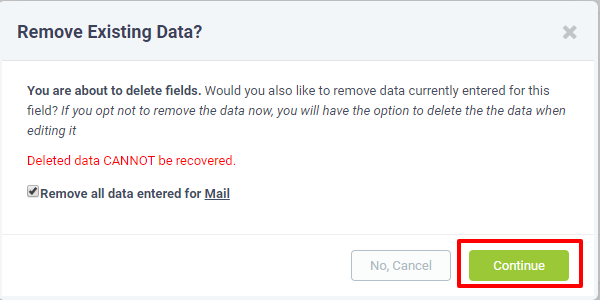
a)For Example: Deleting the " E-Mail " field.
i)Select the Field to delete and click the checkbox in the " DELETE " column.
ii) Deleting the Field without data recovery means to click " Remove all data entered for E-Mail " and then click “Continue”.
iii) E-Mail field is deleted in the company information.
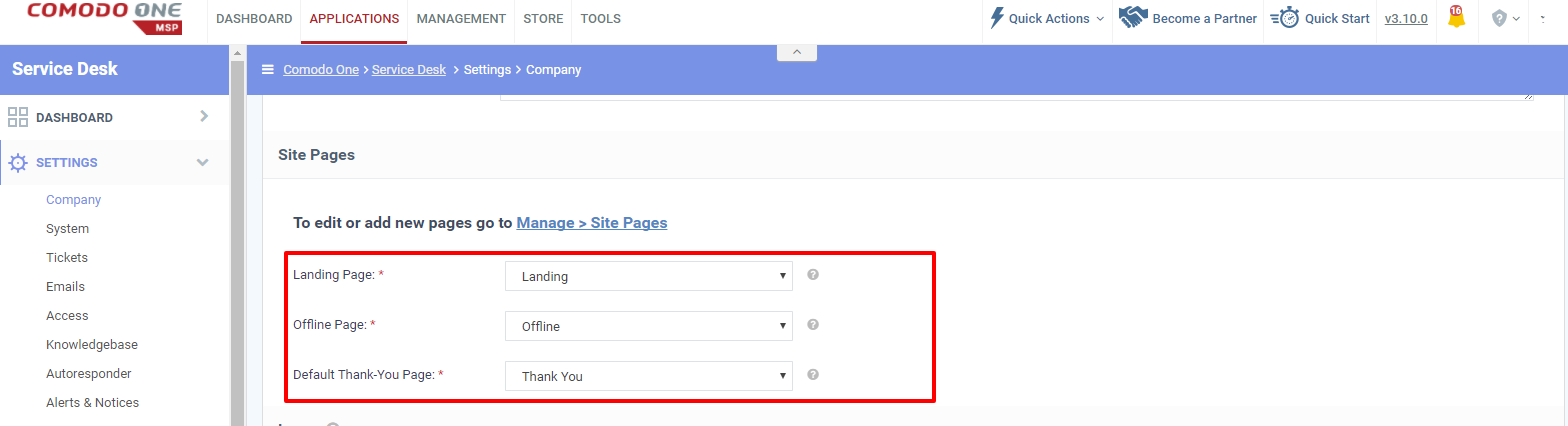
Step [2]: Edit Or Add “Site Pages” for the service desk company.
Note:
Site page is the page shown when the user goes to help desk URL page(Web portal).The admin able to enable, disable, delete the page and change the body content inside that page.
i) Landing Page: Landing Page is the site page, that shows when the help desk status is online.
ii) Offline Page: Offline Page is the site page, that shows when the help desk status is offline.
Note: Your service desk web portal will be in “Offline” if admin changes “Helpdesk Status” at "Service Desk " > “Settings”> “System”.
iii) Thank You Page: Thank you, Page, is the site page, that shows on when the ticket is created and it also shows the user who created it and the Ticket number.
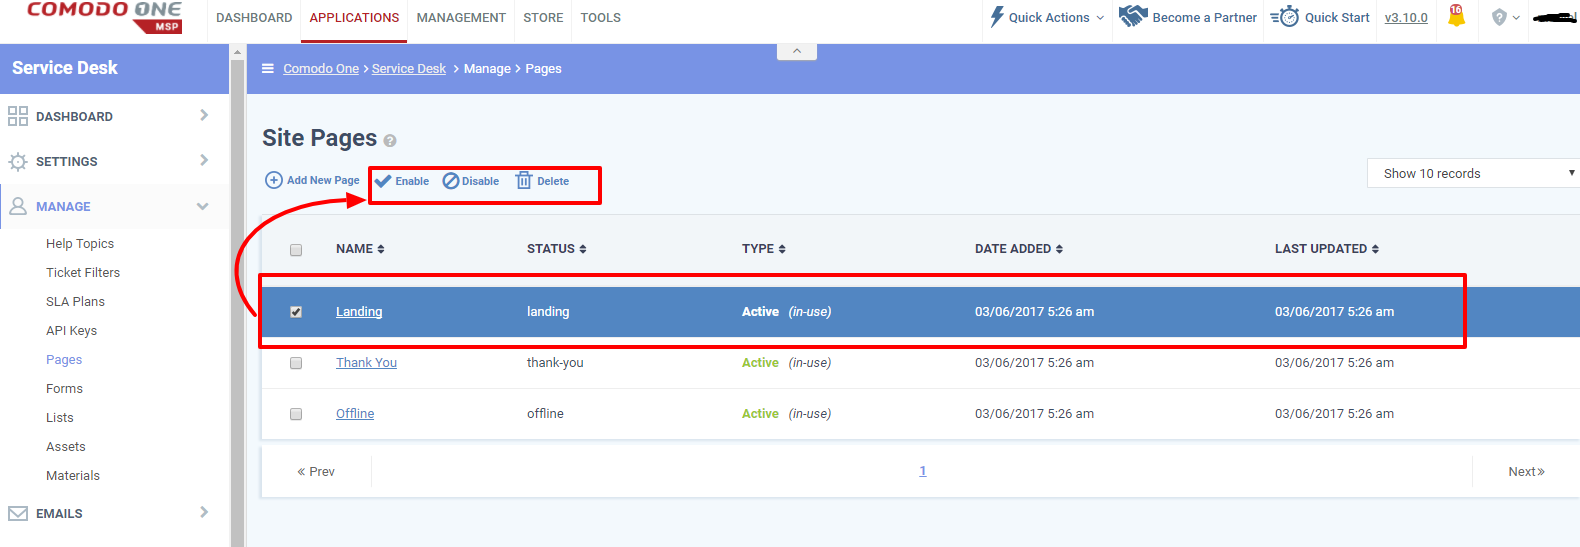
1.Editing the available site pages.
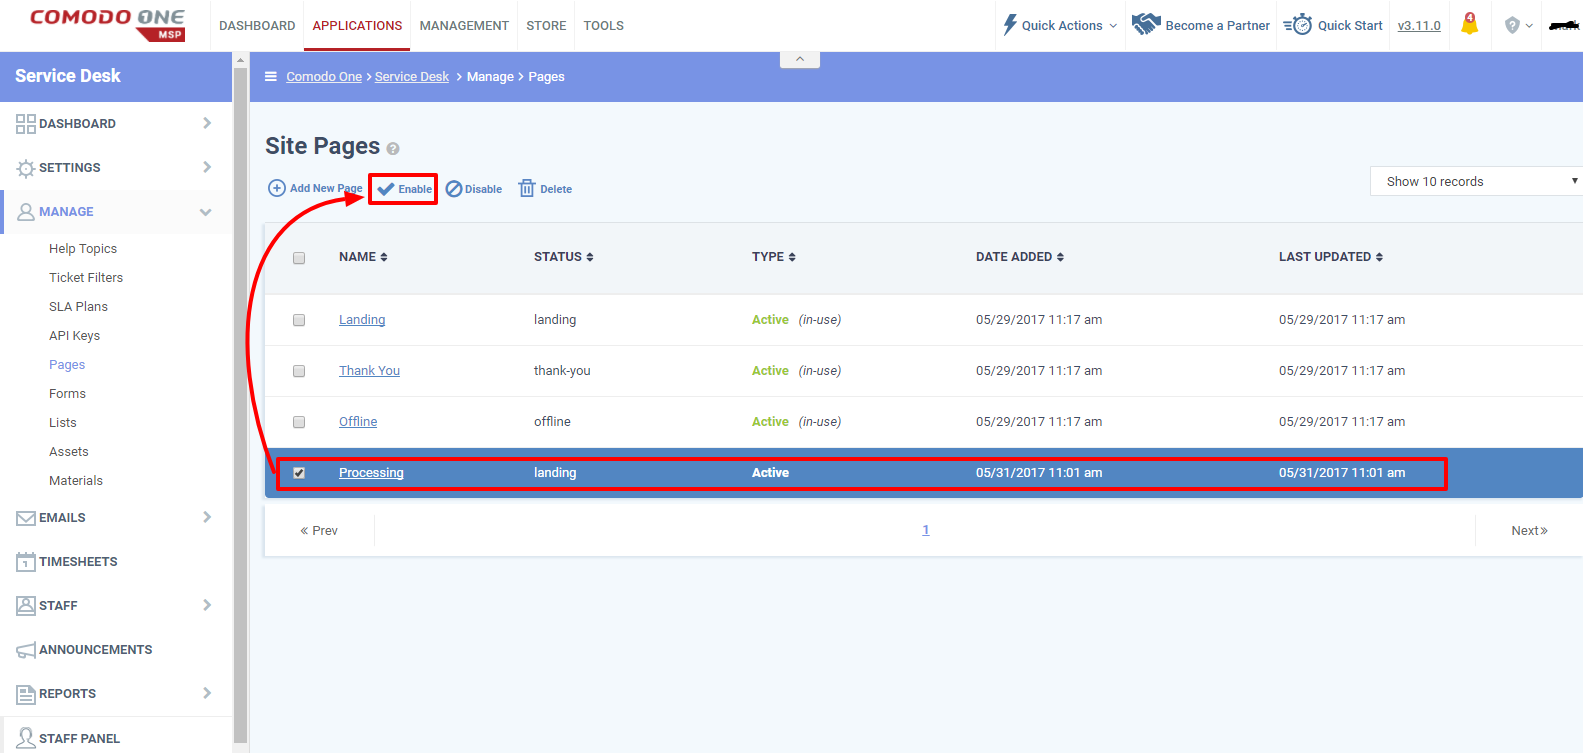
i) Navigate to " Manage > Site Pages " to edit a page.
ii)To Edit a site page, select that required site page to Enable or Disable or to Delete it.
iii) Click the page to edit the content with the required page name, status, type and page body.
2.To Add New site page:
i)Navigate to " Manage > Site Pages > Add New Page ".
ii) To Add a New site page click " Add New Page" and give the page information, page body as per your requirement.
iii) Select that new site page created and then click " Enable " to enable it.
iv) To confirm Enable, Click " Yes do It! " to enable the selected page.
v)Select the new site page created and “Save Changes”.
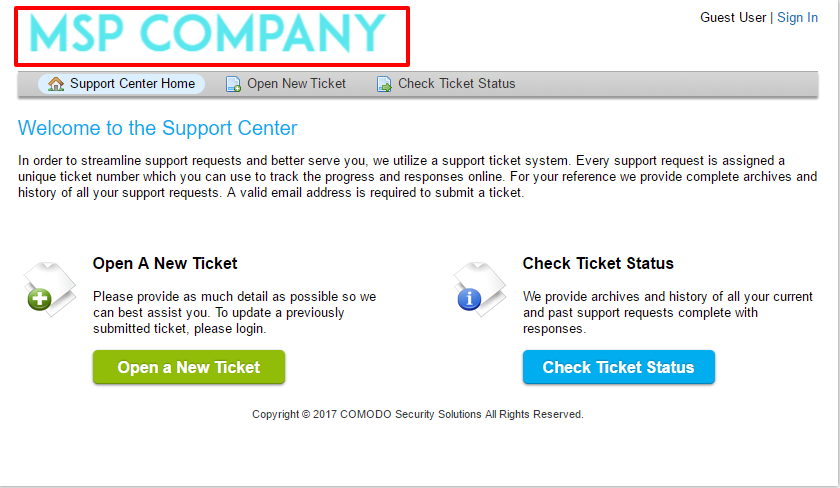
vi) The help desk URL page shows the new site page created.
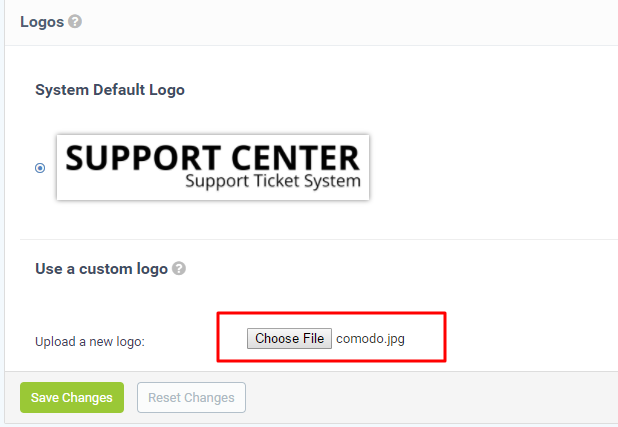
Step [3]: Logos
1.To change the default logo “Choose File” and upload the file.
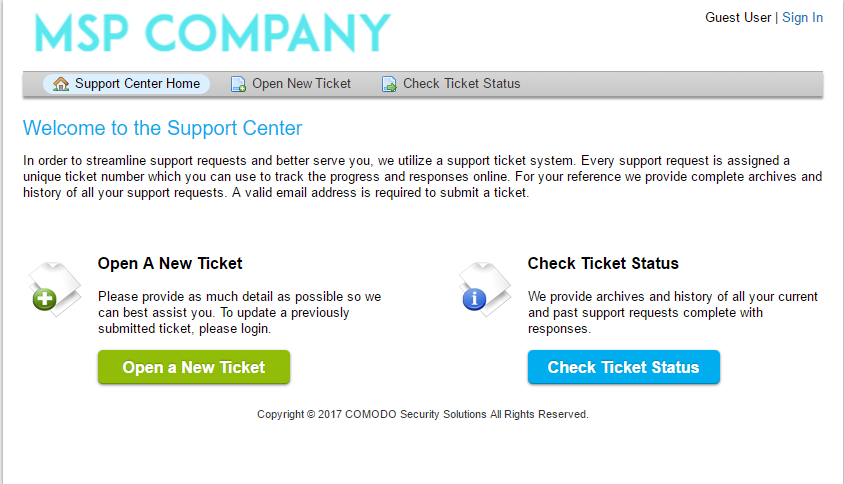
2.Then Click the custom logo and save changes in the page.
3.The custom logo displayed on the Service Desk.