WIKI: How to configure CCS and Virus Database Update Settings on Windows Profiles?

Hi,

A virus database and the updates can be automatically downloaded from the devices by installing the “Comodo Client Security” Software in the devices.A user should add the " updates" section to their desired profile to check and download the updates from the server automatically.

Step [1]:Go to “Configuration Templates ” -> “Profiles” .The profiles list will be displayed.

Step [2]: Select the profile of the device to which you want to check the update.

Step [3]: Click “Add Profile Section” button.Select the “Updates” from the drop down.

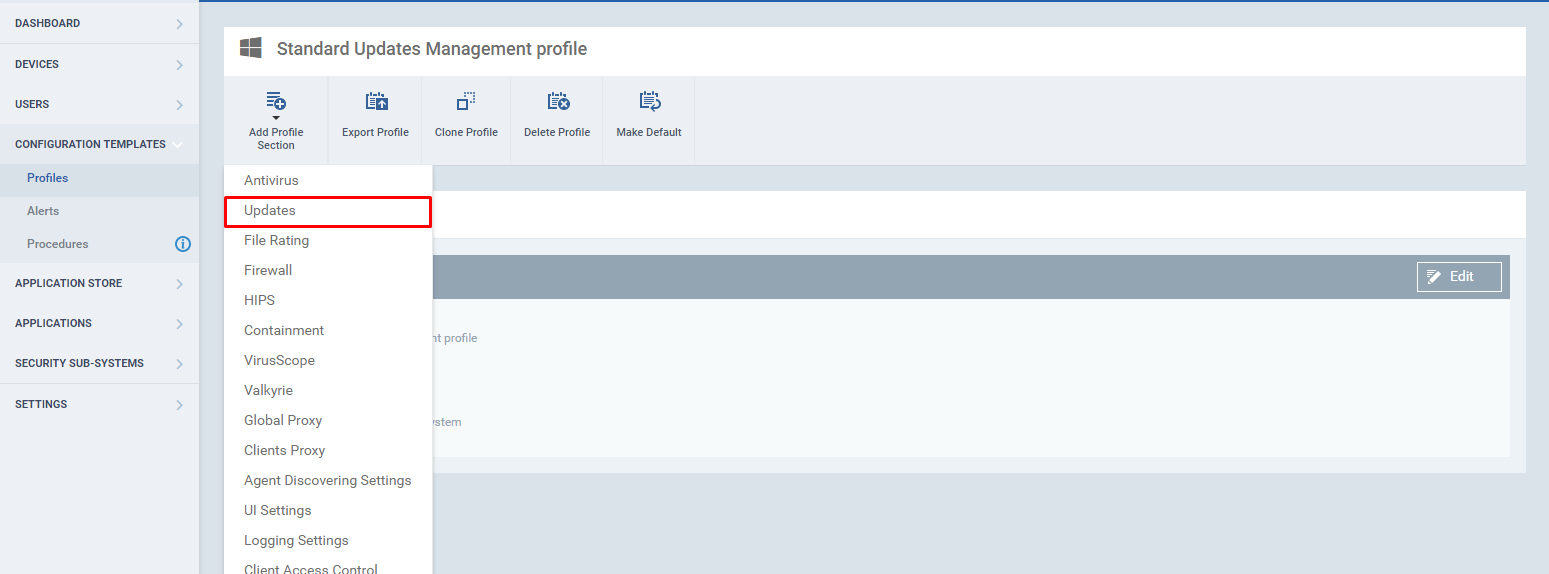
Step [4]: In Updates there are two subsections they are

i) Schedule - The frequency of the schedule and restart options are set here.

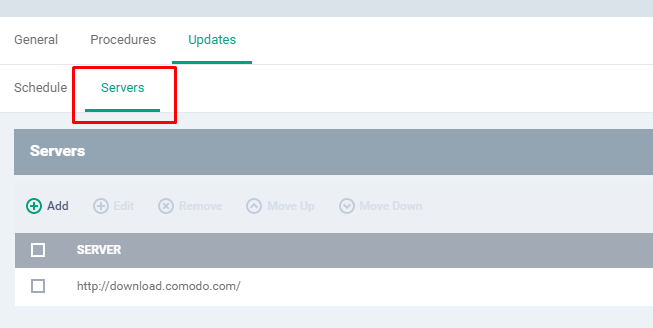
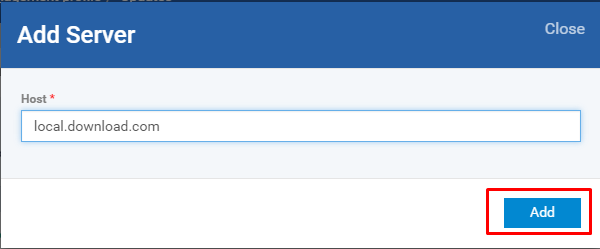
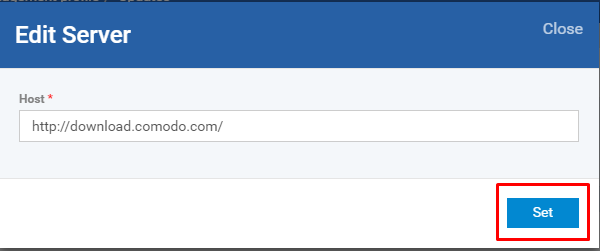
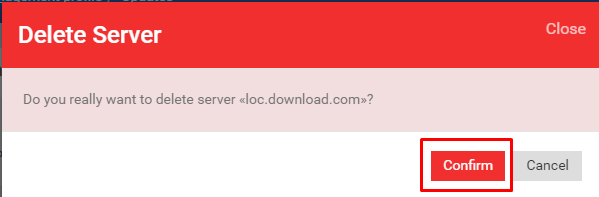
ii)Server - The download locations will be mentioned here. By default, the updates will be downloaded from “http://download.comodo.com.The user can add more server details.

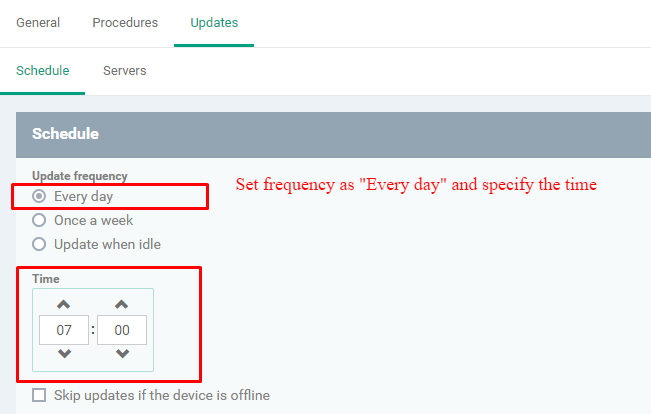
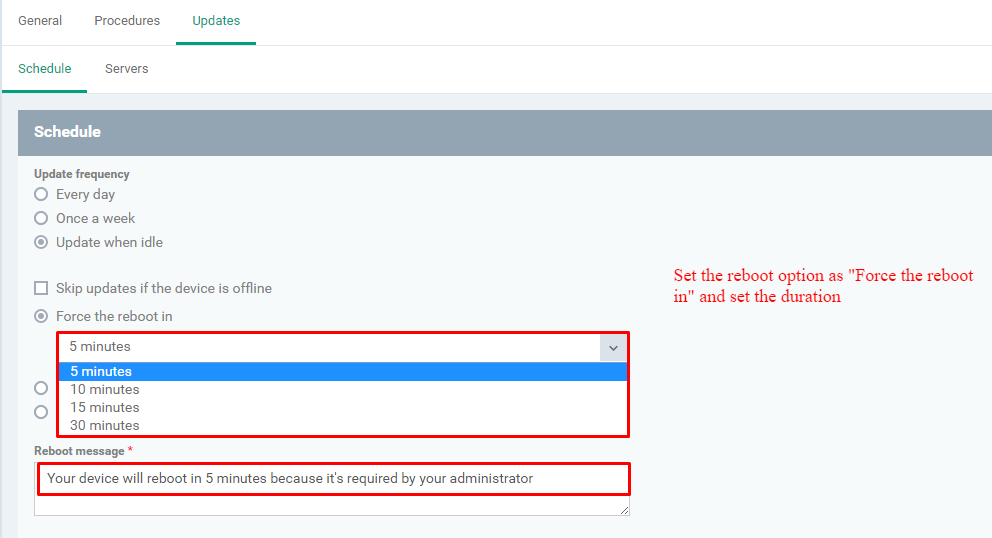
Step [5]: Go to Schedule tab, define the “update frequency” and reboot options,

1.Update Frequency has following options

i)Every Day- It checks for the update at the mentioned time every day.

ii)Once a Week - At the specified day and the time, it checks for the update

iii)Update when idle - The update and the downloading will be done when the devices go idle.

iv)Skip updates if the device is offline - If this option is enabled, the updates will not be applied to the device in an offline state.

Note: On next scheduled time, the skipped updates will be checked and applied to the device.

2.Reboot has different options,

i)Force the reboot in - Specify the time and warning message in the text box. And the reboot will be forced to perform at mentioned time.

ii)Suppress the reboot- Enable this option, to stall the reboot.

iii)Warn about the reboot and let users postpone it - Select this option and give the warning message in the text box to the user, so that the user can reboot the machine later.

step_4.1.png

step_5.png

Step [6]: The proxy server from which the updates should be downloaded will be added Server tab.

1.Go to Server tab.Click “Add ” button to add the server details, a Add server dialog box appears and enter the server detail and click add button.

step_4.1.png

Step [7]: Enable a server by clicking the “ON” in the status .

Step [8]:Select the check box of the server and click any one of the following options

  1. Edit - Click Edit button to edit the server details.

2.Remove - Click “Remove ” button to remove the server.

3.Move up -On Click of the move up buttton, the server willl be moved above the list.

4.Move Down - On click of the move down button, then the sever will be moved down in the list.

step_6.1.png

step_8.1.png

Remove server

step_8.2.png