Step [1]: Click Download Bulk Enrolment Package Icon
(OR) Go to ITSM > Bulk Installation Package
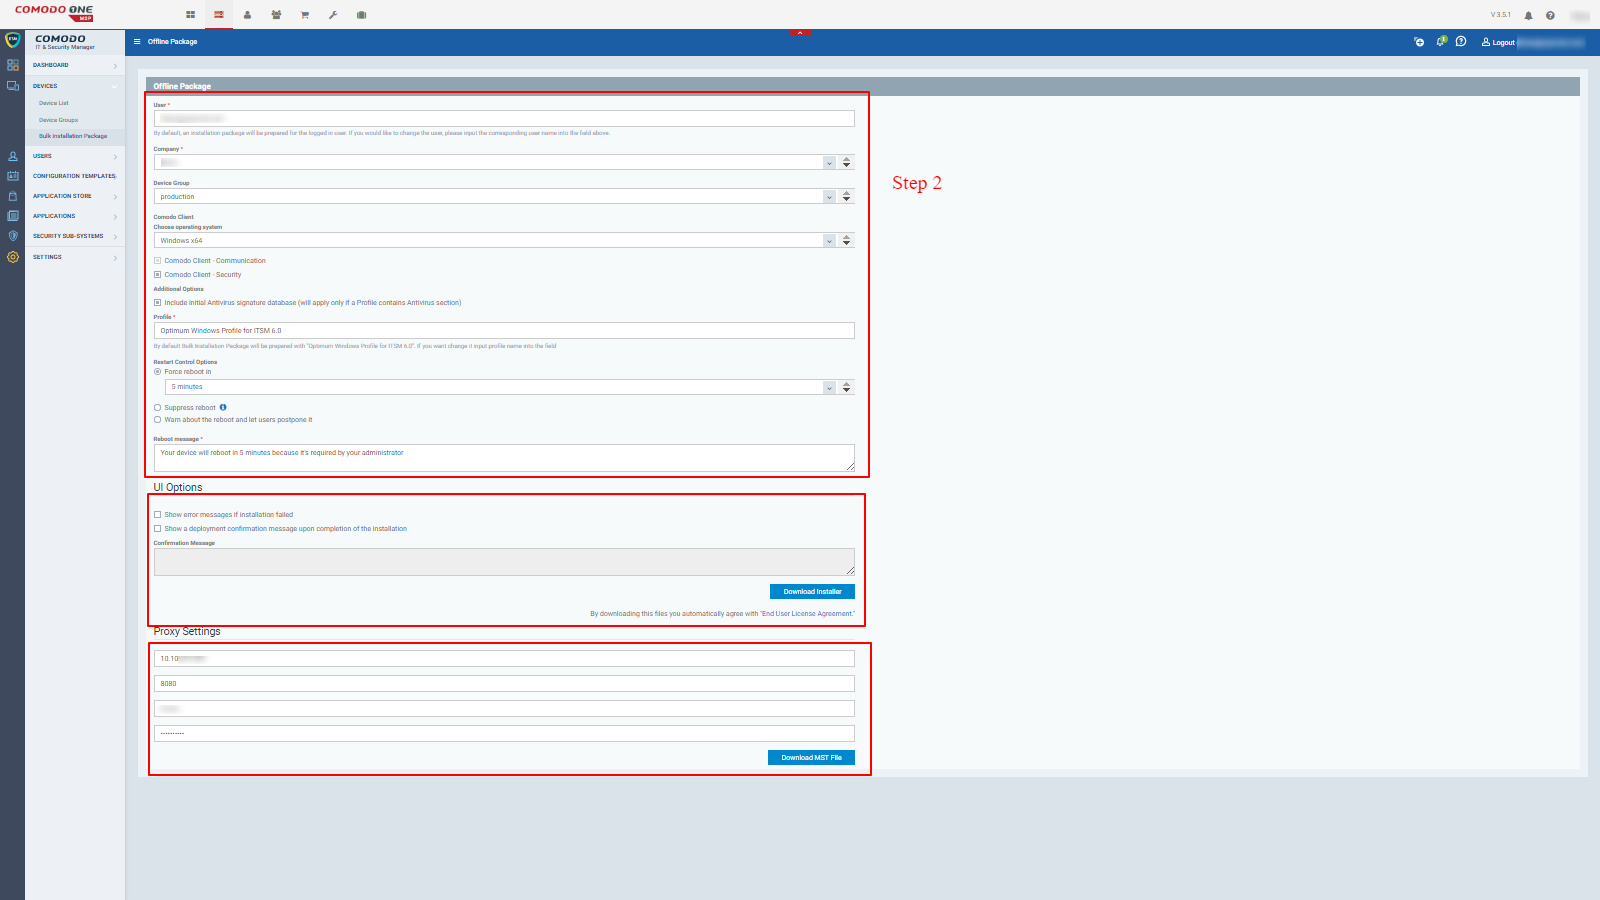
Step [2]: Fill the form and Download the required package
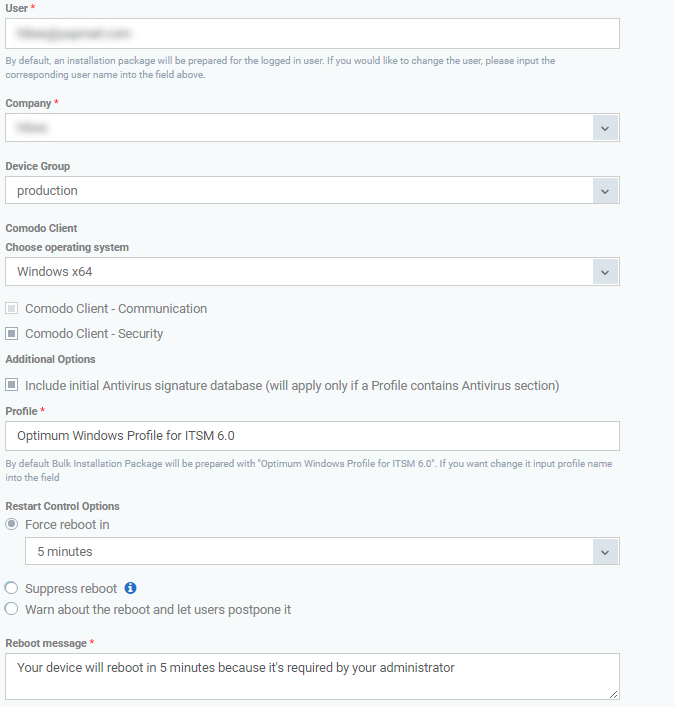
- User - Select the user of your company to install package over the devices of the same user [devices enrolled under the user control]. Example: admin@yourcompany.com
- Company - Select your company. Example: Your-Company Pvt Ltd
- Device Group - Select the group. Example: production
- Comodo Client, If you want to include the Comodo Client, Kindly use the further options
- Choose operating system - Choose the operating system of the devices
- Comodo Client - Communication - By default, it is checked and installed if not already
- Comodo Client - Security - User can check this and let it be added into the package which is downloading here
- Additional Options
- Include initial Antivirus signature database (will apply only if a Profile contains Antivirus section) - If the device profile contains antivirus product then the initialantivirusdatabaseisincludedforthepackage
- Profile - the default profile is loaded at the beginning but if you want to change the profile then enter the name of the profile and choose it. Example: Windows x64 - Other options < Windows x86, Windows x86 and x64 (Hybrid) and MacOS
- Restart Control Options - Use the option to get changes on restart control
- Force reboot in - Select the time laps of the action restarting the machine. Example: 10 minutes
- Suppress reboot - Select to skip the action restarting machine
- Warn about the reboot and let users postpone it - Select for user decision that the user can postpone or perform instant action restarting machine
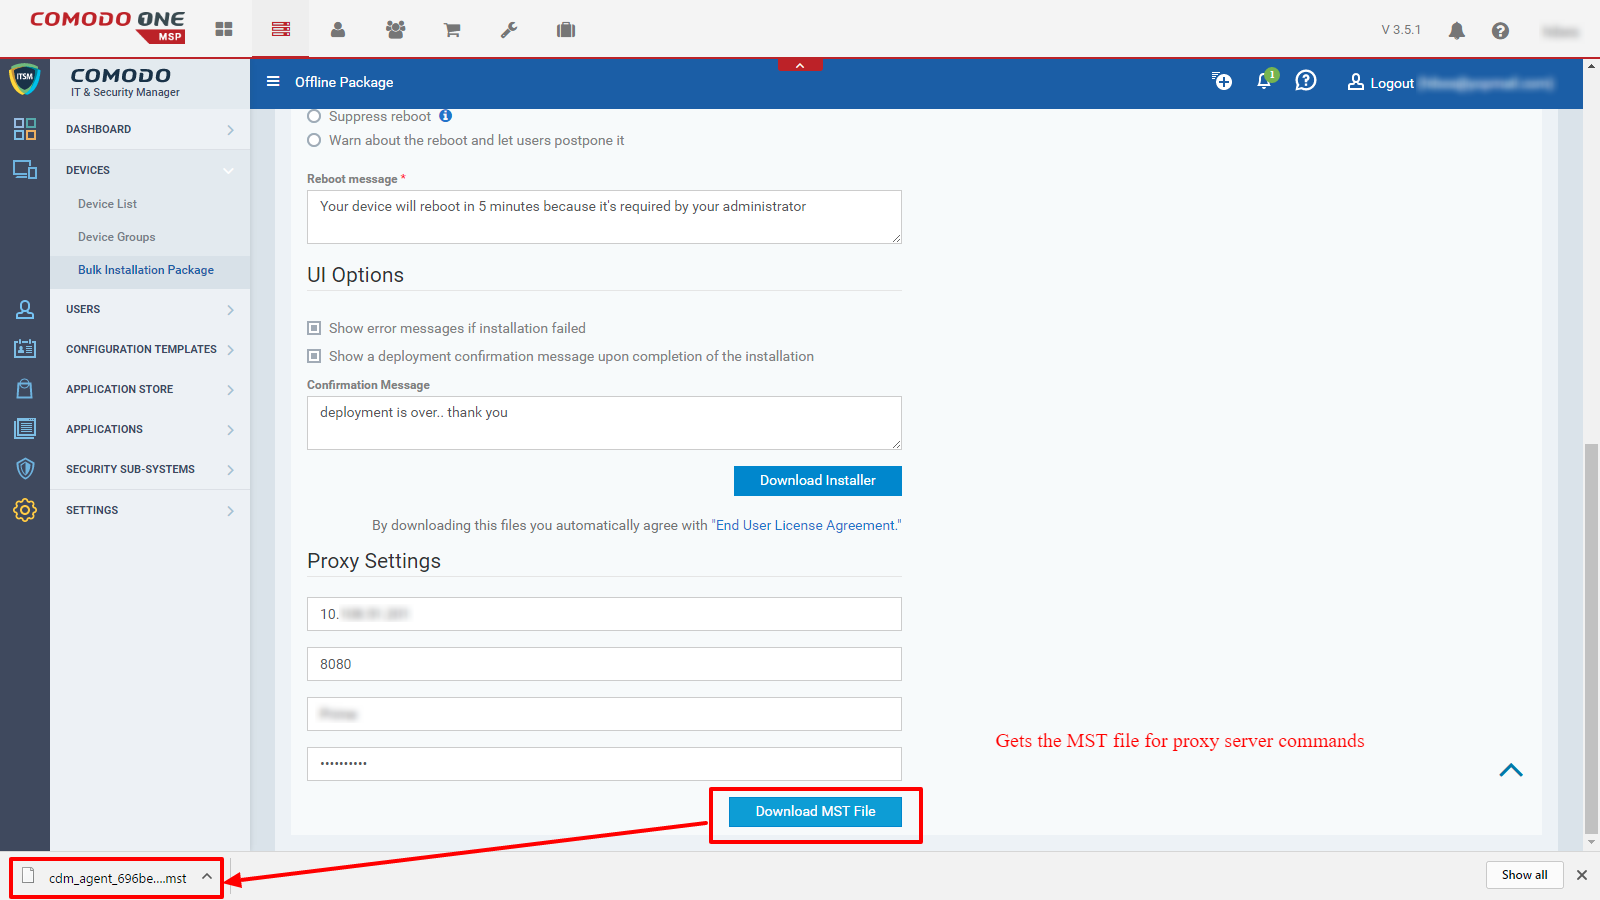
- Reboot message - Message is auto generated but if wish to change the content, you can.
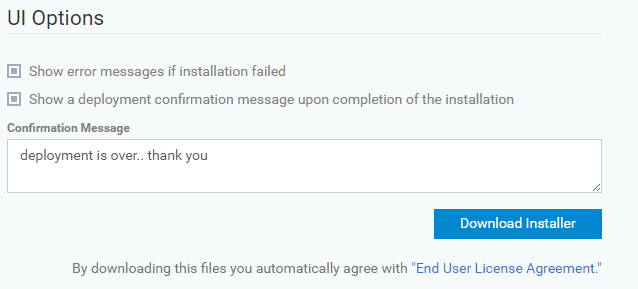
Step [2.1]: Fill the UI Options if you would like to deploy the Comodo Agent through Active Directory from a Server
- Show error messages if installation failed
- Show a deployment confirmation message upon completion of the installation
- Confirmation Message - Enter your message to confirm if the installation is over. Example: deployment is over.. thank you
- Download Installer button - click the button and save the package on the local computer
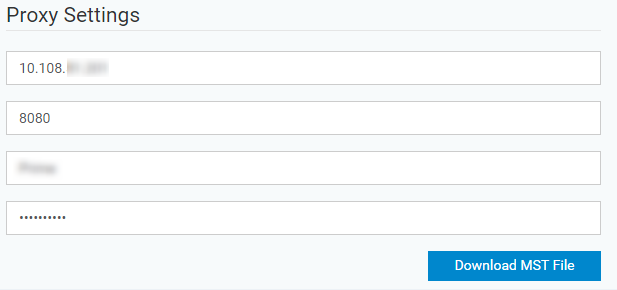
[Optional]: Fill the Proxy Settings and Download the package if you would like to Deploy the Comodo Agent through Proxy Server.
- Proxy Host - Enter theProxyIPAddress .
- Proxy Port - Port Number
- Username - Administrator privileged user
- Password - Password of the user
- Download MST File - click the button and save the MST file to the local computer
**If you already use AD in your environment or you are comfortable with GPO or already have your device structure set on AD and etc, please follow the further steps.
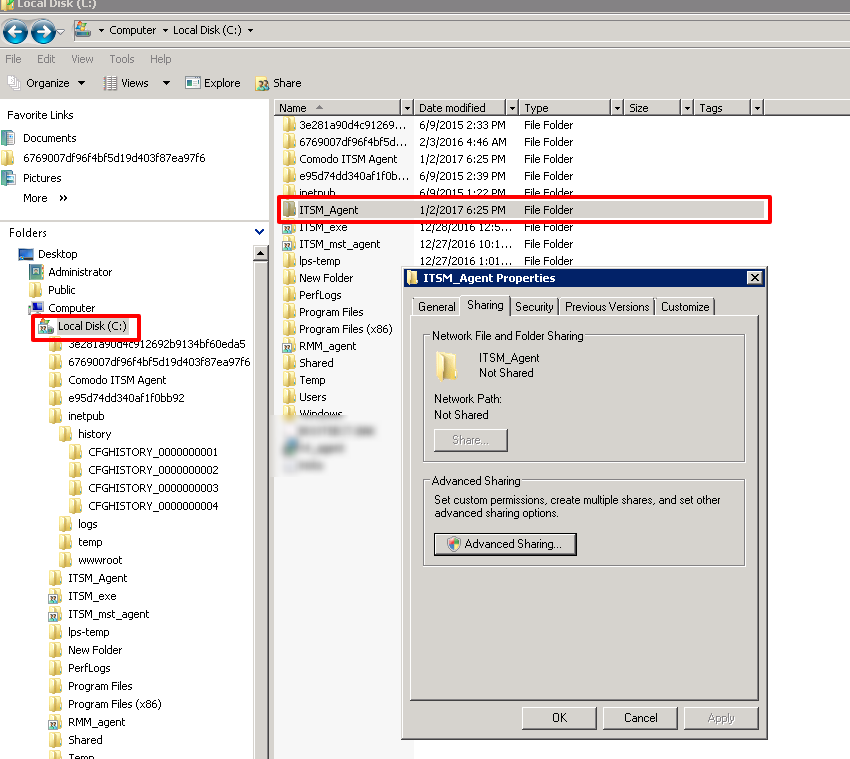
Step [3]: Once the .msi file is downloaded. From AD Server, Create a new directory and copy the file into the directory. Example, ITSM_Agent
Step [4]: Right Click the created-folder and Choose the option ‘Share…’
Step [5]: From the ‘ITSM_Agent Properties’ Window, Click the tab ‘Advance Sharing’
Step [6]: From the ‘Advance Sharing’ Window, Check ‘Share this folder’ checkbox and Click the ‘Permissions tab’
Step [7]: From the ‘Permissions ITSM_agent’ Window, ensure the only option ‘Read’ from the Allow column is selected (if not check the Read checkbox only) and Click OK button
Step [8]: Click ‘Apply’ button from the ‘Advance Sharing’ window
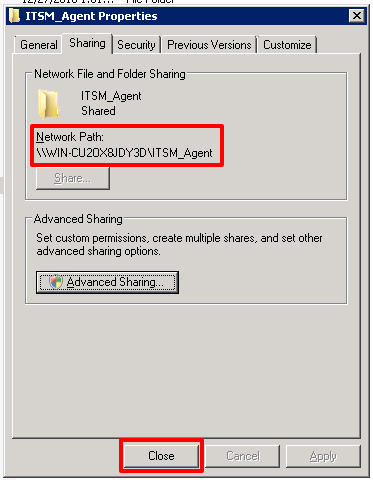
Step [9]: Ensure whether the Network path is assigned. Example, \WIN-CU2OX8JDY3D\ITSM_Agent and then Click Close button
Step [10]: Go to Administrative Tools from Start menu
Step [11]: Double Click the ‘Group Policy Management’
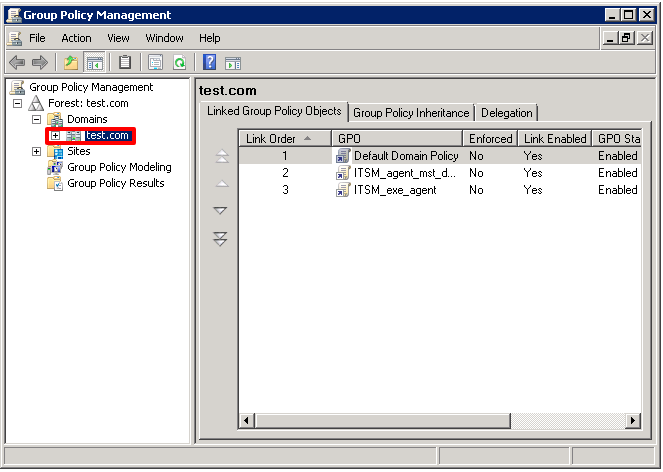
Step [12]: Select the domain from ‘Domains’ folder
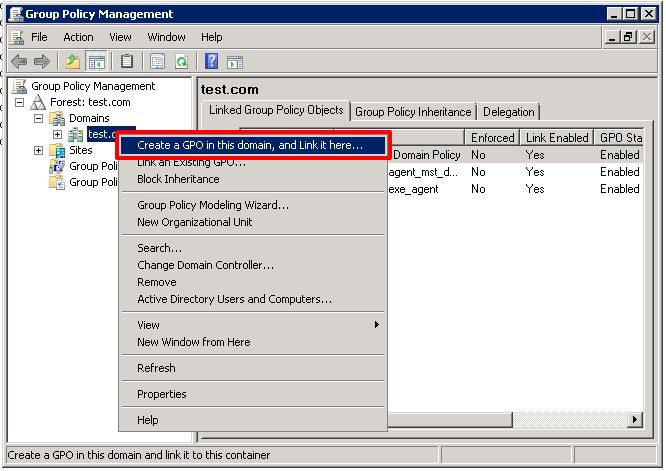
Step [13]: Right Click the selected Domain and Click the option ‘Create a GPO in this domain and Link it here …’
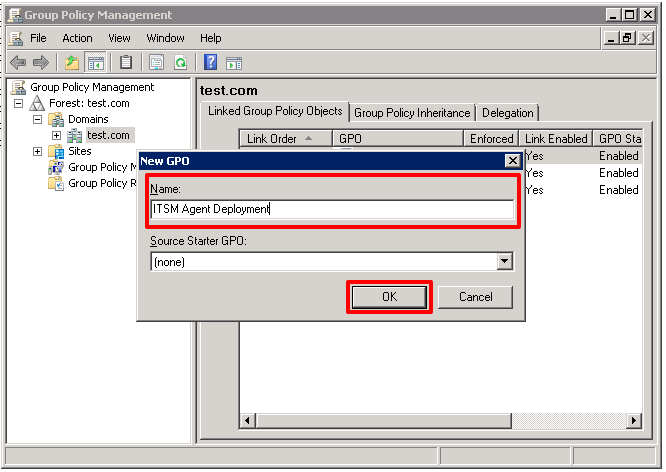
Step [14]: Enter the Appropriate name and Source for the GPO and Click the OK button to save it under the selected Domain
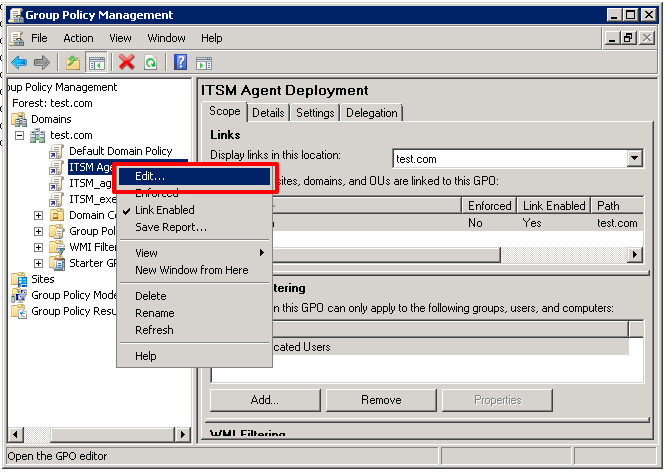
Step [15]: Select the GPO from the Domains folder and Right click the GPO and Choose Edit Option
Step [16]: Expand the folder Computer Configuration as Computer Configuration > Policies > Software Settings and Right-click the Software Settings menu and Choose New > Package…
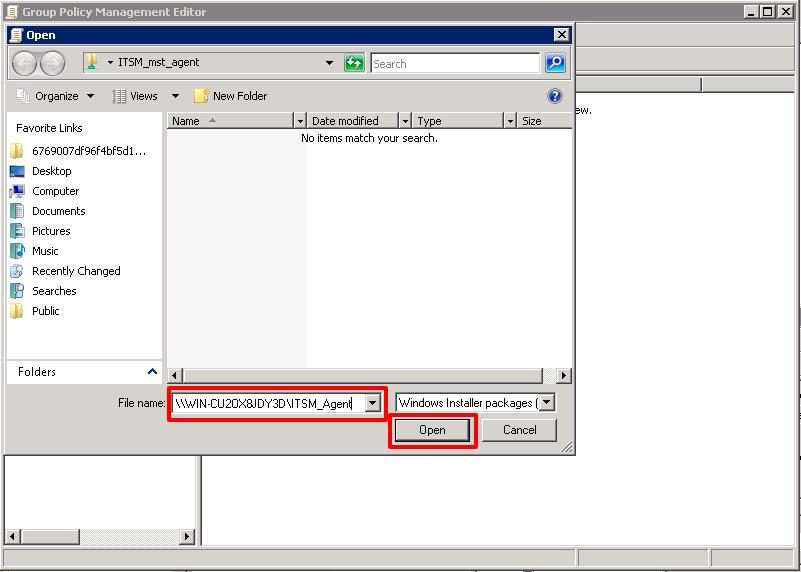
Step [17]: Copy and paste the path we have already created. Example, \WIN-CU2OX8JDY3D\ITSM_Agent and Click the Open button
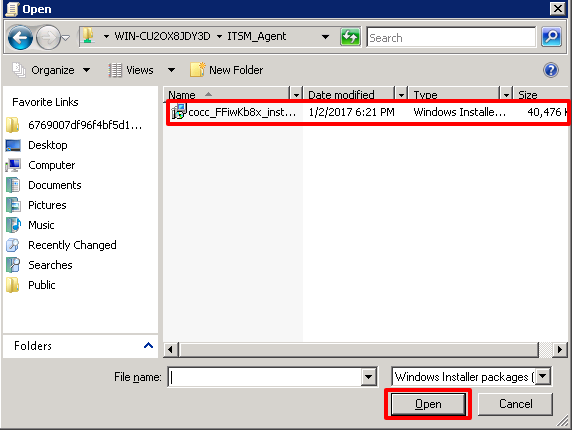
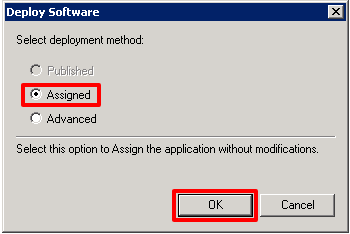
Step [18]: Select the file and Click Open button again and Click OK button from the window ‘Deploy Software’
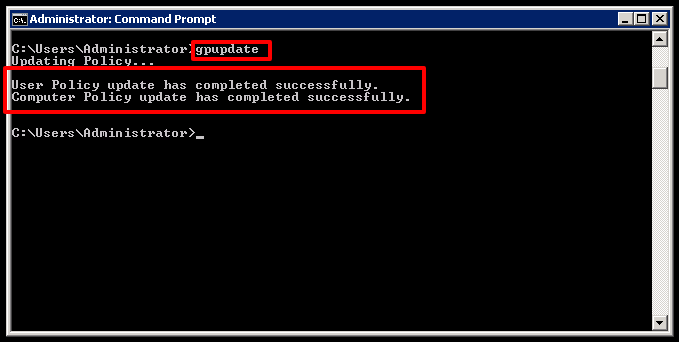
Step [19]: Open Command Prompt as Administrator and run the command ‘gpupdate’. Once your command finished as in the image below, your endpoints will start the installation of the ITSM agent once the user logs on the computer.